What are the Solutions to solve HP Error 49.4 c02?

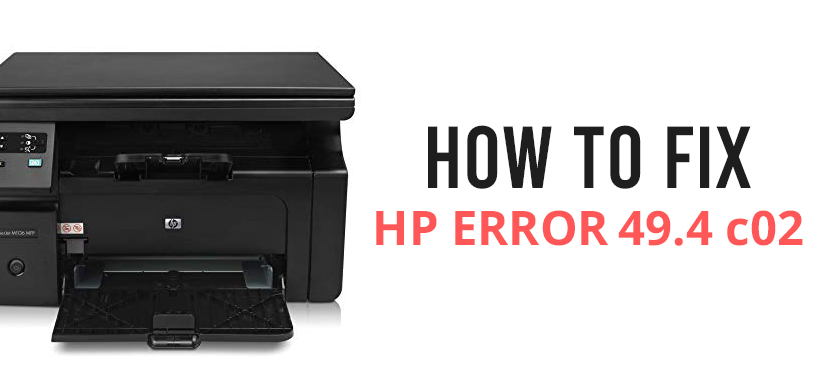
The HP Error 49.4 c02 on the printer can come up while you have sent a document to print. This error can disrupt the proper functioning of the printer or even completely stall it. It appears when it is shown on the printer display.
Causes for the HP Printer Error 49.4 c02
Here, you will get various reasons why this 49.4 c02 service error occurs after all and here are possible HP repair services.
- If the print jobs within the print queue get corrupted somehow, then you might encounter this problem.
- If the ‘Advance Printing Features’ are enabled, then also there is a possibility for you to face this error.
- This error can also come up if you try to print a document that has ‘Franklin Gothic Book Font’
- When the firmware of the HP printer is not up to date, then there is a chance for you to get this glitch.
How to Resolve the HP Printer Error 49.4 c02?
You will get a multitude of methods here, in regards to solving this problem in an easy way.
Deactivate “Advanced Printing Features”
If the “Advanced Printing Features” is active, then there is a probability for you to encounter this issue. Now, the best solution to get rid of this issue is to disable the “Advanced Printing Features”. The steps on how can you do it is as follows.
- First, click on the ‘Windows + R’ keys together to launch the ‘Run’ dialog box. In that dialog box, type the text “printmanagement.msc” on the blank area, beside the ‘Open:’ label and then click the ‘OK’ button.
- This will launch a new window having the name ‘Printing Management’. Inside that window, locate and right-click on the HP printer that gives you this error.
- Once the popup menu comes up, next, choose the ‘Properties…’ option. Within the new ‘Properties’ window of the printer, choose the ‘Advanced’ tab.
- Under that tab, go to the bottom and then uncheck the ‘Enable advanced printing features’ option.
- At last, click both the ‘Apply’ and ‘OK’ buttons respectively.
Remove the Print Jobs from the Print Queue
If the print jobs present within the print queue gets corrupted due to some kind of internal glitch, then there is a possibility for you to face this problem. The best answer to resolve this problem is to delete the printer jobs from the printer queue. Get the steps here on how to do it.
- First, tap on the combination of the ‘Windows + S’ key simultaneously to open the search section.
- In that section, type the text ‘command prompt’ and then from the results page locate the ‘Command Prompt’ option and right-click on it.
- Next, from the popup list, select the ‘Run as administrator’ option. Now, a new window having the title ‘Command Prompt’ will come up.
- Inside that window, type the following command “net stop spooler” and then press the ‘Enter’ key to execute the same.
- Now, form the taskbar click on the ‘File Explorer’ icon and open it. In the ‘File Explorer’ window go to the address bar and enter the following path – “C: \Windows\System32\Spool\Printers”. Then hit the ‘Enter’ button.
- As soon as you do that, then all the print jobs present within the ‘Printers’ folder will be displayed.
- To select all the print jobs press the ‘Ctrl + A’ keys and then hit the ‘Delete’ key to remove them.
- Go back to the ‘Command Prompt’ window then input the command – “net start spooler” and press the ‘Enter’ button. This action will restart print spooler service once again.
Inspect the Document uses “Franklin Gothic Book” font
If the document uses the “Franklin Gothic Book” font, then due to that you can face the service error 49.4 c02 on the HP Printers. In order to rectify this problem follow the steps below.
- First, right-click on the ‘Windows logo’, then click on the ‘Device Manager’ option from the Options menu.
- Now, inside the Device Manager window locate the ‘Printer Queues’ category and double-click on that to reveal the drivers for the HP printers within a sub-list.
- From the sub-list, locate the ‘PS’ driver and double-click on it to open the ‘Properties’ window. Inside that window, choose the ‘Advanced’ tab, in it, go to the ‘PostScript Options’ section.
- Within that section, find the ‘True Type Font Download’ option and set it to ‘Bitmap’.
- Next, double-click on the ‘PCL 5e’ driver to open its ‘Properties’ window. Inside that window go to the Advanced tab, then in it, set ‘Bitmaps’ for ‘Send True Type’ option.
- Repeat the last step for the ‘PCL6’ driver.
Flash the HP Printer Firmware and Update It
There will be steps here to flash the firmware of the HP printer and then update that firmware. Sometimes you might need to find the WPS pin for HP printer.
- First, power off the HP printer.
- Then press the ‘Cancel’ button and simultaneously power on the device. At this time both the ‘Attention’ and ‘Ready’ LEDs will be on and the memory count will increase.
- After that, let go off the ‘Cancel’ button. Next, tap and release the ‘Select’ button.
- Next, press and then release the ‘Resume’ button. As soon as you do that, then a message – “Load File and Execute” will appear on the printer display.
- Now, press the ‘UP’ button until the ‘Program File to Slot 4 Flash’ message comes up on the printer screen. After that, tap on the ‘Select’ button.
- Tap on the ‘Select’ button two times until the ‘Download File Now’ option comes up on the device display.
- Right-click on the ‘Windows logo’, then click on the ‘Run’ dialog box. Inside that dialog box type the “cmd” and then tap on the ‘OK’ button
- Now, a new ‘Command Prompt’ window will appear, in it, type the path of the directory where the firmware is present and then tap ‘Enter’ key.
- Type in the “copy /B *.RFU LPT1” and then press the ‘Enter’ key. This will copy the printer firmware. Insert the USB cable from the computer to the printer and paste the firmware into the device.
- If the firmware upgrade is successful then the printer will show the message ‘Receiving Upgrade’.
Print a Test Page
You will get steps to print the test page here.
- First, if the printer is on then shut it down.
- After that, remove the USB cable that plugs into the computer and the printer. Then, power on the printer.
- Now, check the printer display and see it shows the ‘Ready’ message or not.
- Once you get this message, next, turn off the printer again and now wait for fifteen seconds. Next, after the time is over, then, start the printer again.
- At last, print the test page and check the firmware data present under the ‘Printer Information.

 Stars-923: Unveiling the Mystical Cosmos
  Buying Guide for Short-Throw 4K Projectors for Gaming
  5 Best Wireless Apple CarPlay Adapters in 2024
  The Essential Role of Animated Explainer Videos in Tech Documentation
  How Do You Apply Agile Testing Principles And Practices Across Different Domains And Contexts?
  What Are The Benefits And Challenges Of Using Mock Objects In TDD?