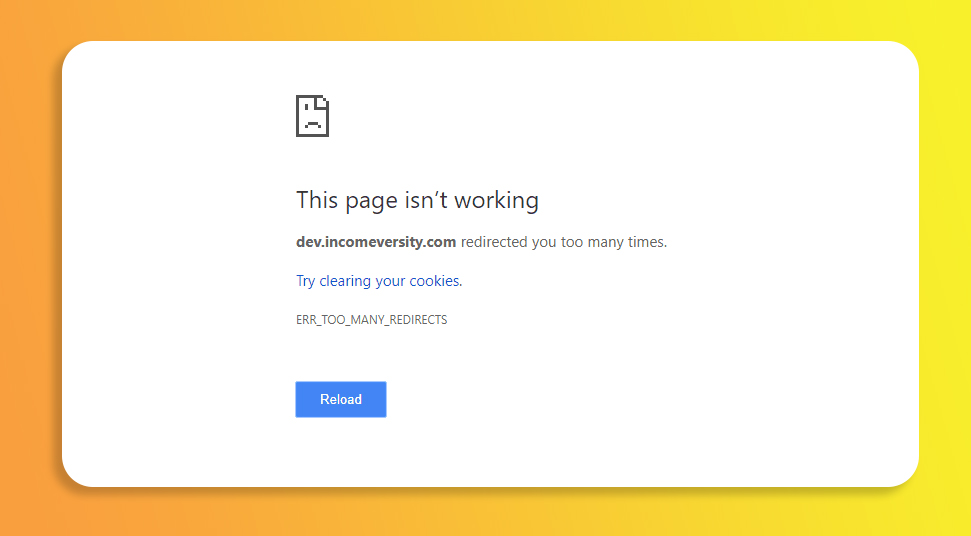
Rectify Err_Too_Many_Redirects Error Within WordPress

While trying to maintain and work on a website using WordPress you can run into the “Err_Too_Many_Redirects” error. You can get this message in a variety of forms like ‘This webpage has a redirect loop problem’ or ‘Hmm…can’t reach this page’, etc.
Follow, the article to know the reason for this error and its relevant answers.
About the Err_Too_Many_Redirects Issue
You and anyone visiting your website can get this error when the site is stuck in an infinite redirect loop. In other words, this error means that you will be sent to your website all the time until the server gets clogged up and shows the “redirected you too many times.” issue message.
Why does this Error occur after All?
The “Err_Too_Many_Redirects” error can occur due to many reasons. All those reasons are here as follows.
- If the cookies of your WordPress website are corrupted, then due to that reason you may encounter this error.
- When the WordPress cache files run into some issue, next, even then this issue can crop up.
- If the plugins of the WordPress website does not work properly, then also this issue can appear.
- Whenever the server has any internal issues like corrupt ‘.htaccess’ file, then this issue may appear
- The problematic cache files of the web browser can also cause this problem.
How to fix “Too many Redirects Chrome” Error?
There will be a plethora of methods here that will help you to easily fix this error as fast as possible. Here you will get solutions exclusively for the Chrome browser.
Remove the WordPress Website Cookies
If your WordPress website contains corrupt cookies, then you might encounter this error message. The relevant answer to this problem is to delete the cookies of the WordPress website from the browser. In order to do it, follow the steps mentioned below.
- First, launch the Google Chrome browser on the computer.
- Next, type in the following address on the URL bar – “chrome://settings/content/cookies” and then press the ‘Enter’ key.
- As soon as do that, then the ‘Settings’ window will come up. Inside that window, a new page with the heading ‘Cookies and site data’ will appear.
- Within this page, scroll down a little and then click on the ‘See all cookies and site data’ option. This action will reveal a list of all the websites, whose cookies are saved inside the computer.
- From the list, look for your WordPress website and then tap the ‘Trash Bin’ icon on the extreme right side of the option.
- At last, close the browser and then check if this error still comes up or not while you access the WordPress website.
Clear the Browser Cache Memory
If the cache memory of the Google Chrome browser is full or is corrupt due to some issue, then you may face “Err_Too_Many_Redirects”. The easiest way to get rid of this problem is to clean the cache memory of the Chrome browser. To do that, follow the steps below.
- First, from the Desktop locate and double-click on the Google Chrome icon to open the browser.
- After that, go to the top-right edge of the window and tap on the “three vertical dots”. This action will reveal a drop-down menu with a list of various options.
- Among all the options locate and highlight the one that says ‘More tools’. When you hover the mouse pointer over that option, next, an additional menu will appear.
- From that menu, locate and click on the ‘Clear browsing data…’ option. Once you tap on that option, next, a ‘Settings’ page will appear along with a dialog box having the heading ‘Clear browsing data’.
- Within that dialog box, choose the ‘Basic’ tab. Inside that tab, select the ‘Time range’ as “All Time”, then put a tick mark on the ‘Cached images and files’ option and tap the ‘Clear data’ button.
- Now, quit from the Chrome browser then restart the computer and see if this problem reappears or not while you attempt to access your WordPress website.
Reset the ‘.htaccess’ File
The ‘.htaccess’ is a configuration file for the Apache server. This file is used to control the settings of the server. Also, the file ‘.htaccess’ can control the redirect settings of the Apache server.
Now, if this configuration file has some kind of glitch then you can get the ‘Err_Too_Many_Redirects’ error. The correct way to resolve this problem is to reset the file ‘.htaccess’. In order to that go through the steps below.
- First, make a connection between your WordPress website and the File Transfer Protocol client.
- Once the connection is complete, next, go to the root or main directory of the website. This directory is present usually inside the ‘public’ folder.
- Now, among all the contents inside the root folder, locate and select the file ‘.htaccess’. Next, right-click on the chosen folder and reveal a popup menu.
- From that menu tap on the ‘Download’ option. Once the file ‘.htaccess’ is downloaded into the computer, then it will act as a backup.
- After that, go to the FTP client once again and then put the following code block on the ‘.htaccess’ file.
- [
# BEGIN WordPress
RewriteEngine On
RewriteBase /
RewriteRule ^index\.php$ – [L]
RewriteCond %{REQUEST_FILENAME} !-f
RewriteCond %{REQUEST_FILENAME} !-d
RewriteRule . /index.php [L]
# END WordPress
]
- Save the ‘.htaccess’ file and then upload it to the server.
- Lastly, refresh your WordPress website and see if this error comes up or not.
Delete the WordPress Cache Data
If the cache data of the WordPress website is corrupted due to some reason, then there is a chance for you to face “too many redirects Chrome” issue. The easiest answer to solve this error is to remove the cache data of your WordPress website. To remove the cache data follow these steps below.
- First, log in to the WordPress admin dashboard.
- Next, go to the top section of the window and click on the ‘Clear REST Cache’ button. This action will delete all the cache data of the WordPress website.
- Once the cache data is cleared, next, try to access your website and check whether this problem comes up or not.
Disable the WordPress Plugins and Re-enable it Again
When the plugin present within WordPress does not operate correctly, then this error might appear. The effective solution to this glitch is to deactivate all the extensions installed within WordPress. Here’s how can you do it.
- First, properly connect your WordPress website with an FTP client installed within the computer.
- Next, go to the folder ‘wp-content’ present under the main directory. Now, from the contents of the ‘wp-content’ folder, locate the ‘plugins’ directory and right-click on it.
- After that, form the popup menu that shows up, find and select the ‘Rename’ option. Now, provide a new name to this folder like ‘deactivate_plugins’.
- This action will simply disable all the plugins of WordPress. Once you have done that, next, check whether your WordPress site can be accessed or not.
To enable all the plugins what you do is change the name of the ‘deactivate_plugins’ folder to the default one i.e ‘plugins’. However, for the plugins to work, you need to individually activate them from the WordPress dashboard. When you activate plugins one after another, then try to access the website and ascertain which extension is the culprit, that shows this problem. Once you have got hold of the problematic extension, then delete it.

 Stars-923: Unveiling the Mystical Cosmos
  Buying Guide for Short-Throw 4K Projectors for Gaming
  5 Best Wireless Apple CarPlay Adapters in 2024
  The Essential Role of Animated Explainer Videos in Tech Documentation
  How Do You Apply Agile Testing Principles And Practices Across Different Domains And Contexts?
  What Are The Benefits And Challenges Of Using Mock Objects In TDD?