Fix Kodi Not Working Issue Easily
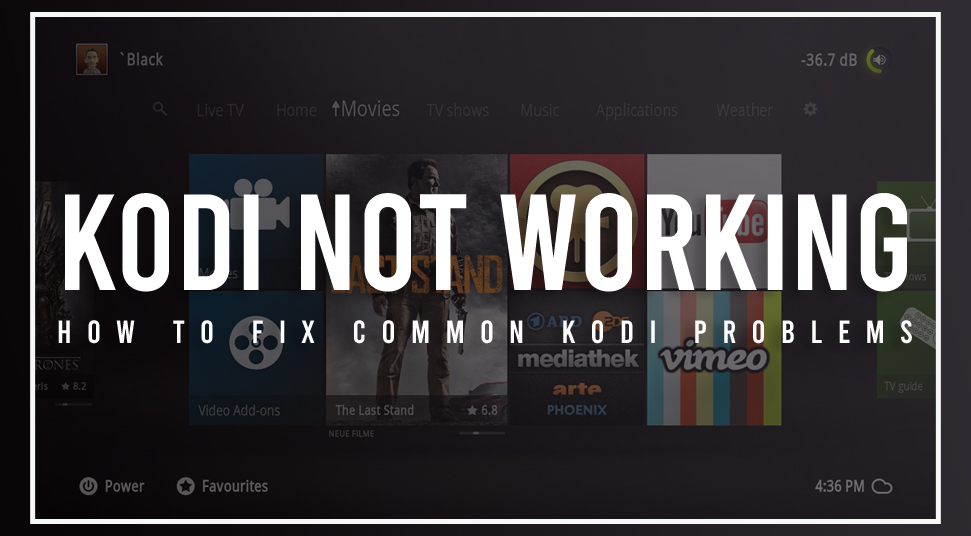
Kodi is basically am open source software, that allows you to access all types of contents starting from movies to music. This software is available for different platforms like computers, television, smartphones and etc.
Although Kodi is a good application that can keep you entertained, it has some flaws. Here, there will be a discussion about all types of issues, however, the important problem is the ‘Kodi not working’. You will get more focus on that problem.
What are the reasons for Kodi Issues?
Here, you will get all the general reasons why Kodi not working problems occur after all. Follow the steps below.
- If the installation of an addon has some glitch, then you may encounter Kodi not working.
- When the hardware acceleration feature is active, then you can get this problem even.
- If the data within the cache memory gets corrupted, even then this issue may crop up.
- Whenever the installation of the Kodi software is not properly done, you may face this issue.
How to rectify the Kodi keeps crashing Problem?
Here, there will be various methods that will help you to fix Kodi not working problem in an easy way.
I: Delete the Cache Memory of Kodi Software
Kodi software has a feature that allows you to get a fast and smooth stream as it downloads a part of the video with the cache memory. However, when the cache memory of the Kodi software completely fills up, next, due to that reason you may face this glitch. One thing to note is that the Kodi software does not have an in-built procedure to clean the cache memory. However, in order to remove the contents within the cache memory, you will have to add a reliable extension to the Kodi application. Get the steps here.
- First, open a web browser and then search for a reliable TV Addons repository of the Kodi software.
- Once you have found out about that repository, next, visit its official website and download the same.
- Next, launch the Kodi application and then go to the left panel from the home page. After that, locate and tap on the ‘Add-ons’ option.
- Now, move to the right side and then tap on the ‘Install from ZIP file’ option. This action will open a dialog box, in it, find the reliable repository that you have downloaded then select the same and click on ‘OK’ button.
- As soon as you do that, then the repository will be installed into the application. Once the repository installation is over, next, again choose the ‘Add-Ons’ option.
- After that, go to the right side once again and tap on the ‘Install from repository’ option. When you see a page with the heading ‘Add-ons/ Install from repository’, next, choose the “TVAddons” repository option.
- A new page will appear, in it, locate the ‘Program add-ons’ option and click on the same. This action will open a list of all the extensions available within the repository.
Additional steps for the previous Method
You will get additional steps here for the last method.
- From the list, find the reliable extension and click on it. This will open the launch the addon on the Kodi application.
- Now, on the new page that appears, go to the bottom-right corner of the screen and click on the ‘Install’ button. Wait for some time until the installation process of the extension is complete.
- Once the addon installation is over, next, locate and click on the ‘Open’ button. When the reliable extension executes within Kodi, next, tap on the ‘Maintenance Tools’ option.
- Next, find the ‘Clear cache’ option and click on it. This action will remove all the data present within the cache memory of the Kodi software.
II: Deactivate the hardware Acceleration
The term hardware acceleration means a procedure, with which an application can offload some work onto the specific hardware component inside the machine. This procedure is available within the Kodi application. Now, even though, this procedure is beneficial for the computer as there is an increase in the performance, but, even then you can get the Kodi keeps freezing issue. The best solution to fix this issue is to disable the hardware acceleration feature from the Kodi application. To do it, follow these steps below.
- First, open the Kodi application.
- After that, go to the top left corner of the application window and then click on the ‘gear’ icon.
- As soon as you click on that icon and a new page will appear with the title ‘System’. From that page, locate and choose the ‘Player’ option.
- Now, another page will come up having the name ‘Player’. In that page, navigate to the lower-left corner and click on the button many times until the name changes to ‘Expert’.
- Go to the top part of the left pane and tap on the ‘Videos’ option. Next, move to right-side of that page only and find the following options ‘Allow hardware acceleration – MediaCodec’ and ‘Allow hardware acceleration – MediaCodec (Surface)’. For Windows choose ‘Allow hardware acceleration – DXVA2’ option.
- At this time, slide the switch to the left to turn off both the options and close the Kodi application.
- Finally, launch Kodi once again and see if this issue is still there or not.
III: Update Kodi Application
If the Kodi software present within the device is not up to date, then there is a chance for you to get Kodi not working. Now, the only way to resolve this problem is to perform an update of the Kodi software. Since the Kodi software is available on many platforms, so here you will get steps for Windows.
- First, launch the official website of Kodi. Next, locate and tap on the ‘Windows’ icon. You will get icons of other OS also.
- Next, a dialog box with the heading ‘Kodi for Windows’ will come up. In that dialog box, find and choose the ‘Installer’ button.
- As soon as you click on that button, then automatically the download process of the installation package will begin.
- Once the download process is complete, next, go to the default ‘Downloads’ folder and double-click on the installation package to execute the same.
- When the installer window comes up, next, on the bottom part click on the ‘Next’ button to continue.
- As you get the license agreement page, then click on the ‘I Agree’ button. On the next page, put the checkmark on all the components and tap on the ‘Next’ button.
- Now, in the new page that appears, select the destination folder to install the Kodi application and tap on the ‘Next’ button.
- After that, click on the ‘Install’ button, in order to initiate the installation process of the Kodi software.
- Lastly, once the installation of the application is complete, tap on the ‘Finish’ button.
IV: Delete recently installed add-ons form Kodi
Sometimes you can face Kodi not working issue if an addon is installed recently. Due to a conflict between add-on and the installation files of Kodi this issue can show up. Now, the only way to get rid of this problem is to delete the recently installed addon from Kodi. You will get steps here on how to do it within the Windows machine.
- First, tap on the combination of ‘Windows + R’ keys together.
- This action will open a new ‘Run’ dialog box, in it, type in the following text “%APPDATA%”, beside the ‘Open’ label and tap on the ‘Enter’ key.
- As you press on that key, then a new window with contents from the ‘Roaming’ folder under the ‘Appdata’ directory will come up.
- Inside that window, locate the Kodi folder and then double-click on it to view the contents on a new page.
- After that, from the new page that appears find and double-click on the ‘addons’ directory.
- At last, find the folder of the currently installed extension then select and tap on the ‘Delete’ button.
V: Use a VPN Connection
A Virtual Private Network or VPN gives a connection over the Internet from a machine to a network in encrypted form. This type of connection allows you to transmit the data in a safe and secure way. The main reason why you need to use a VPN connection is that it hides the IP address and shows a fake one. As Kodi software lets you stream media from different sources which can contain illegal videos, therefore, it better if you protect yourself with the VPN connection.
VI: Remove the Kodi Application and Install it Again
If every method presented here fails to Kodi not working issues, then the last solution what you can do is delete the Kodi software and install it once again. How can you do it is as follows.
- First, click on the default search area represented by a ‘magnifying glass’ icon on the taskbar.
- Next, on that area, type the following text “control panel” and then from the output of that search choose the ‘Control Panel’ option.
- As you click on that option, then a new window will appear having a title ‘Control Panel’. Inside that window, you will get various setting categories for the computer, that can be changed by you.
- Now, out of all those categories select the one that says ‘Programs’. Once you click on that category, next, a new page will come up, in it, locate the ‘Programs and Features’ option.
- This action will launch a new page that lists all the applications installed within the computer. From that list, locate the Kodi software and right-click on the same.
- After that, from the popup menu that appears, choose the ‘Uninstall’ button. At this time a new uninstaller window will appear, in it, follow the instructions and press the ‘Uninstall’ button.
- Now, wait for the removal process of the Kodi application to get over. Once it is complete, next, restart the computer.
- When the computer boots up again, next, go to the third method and follow all the steps there, to install the Kodi software once again.

 Stars-923: Unveiling the Mystical Cosmos
  Buying Guide for Short-Throw 4K Projectors for Gaming
  5 Best Wireless Apple CarPlay Adapters in 2024
  The Essential Role of Animated Explainer Videos in Tech Documentation
  How Do You Apply Agile Testing Principles And Practices Across Different Domains And Contexts?
  What Are The Benefits And Challenges Of Using Mock Objects In TDD?