How to Clean Your Laptop Keyboard and Touchpad [Explained]?
Your trusty laptop faithfully endures late-night work sessions, coffee spills, and the occasional errant crumb. But beneath the surface, its keyboard and touchpad accumulate dust, grime, and potentially harmful bacteria.
To keep your device functioning smoothly and hygienically, regular cleaning is essential.
Dive into this guide to learn the essential steps for a sparkling clean laptop.
Basic Steps for Sparkling Cleanliness
Here are the basic steps that you must implement to clean the laptop keyboard and touchpad:
Step 1: Power Down and Disconnect
First things first, turn off and unplug your laptop. According to the Laptop Repair Dubai team, this protects against accidental electrical shocks and allows for safe handling of sensitive components.
Step 2: Shake Out the Dust Bunnies
Close your laptop, turn it upside down, and gently shake. This dislodges crumbs and dust caught between the keys.
Step 3: Brush Away the Debris
Take a soft-bristled brush or use a can of compressed air to gently loosen and remove any remaining dust and debris from the keyboard and touchpad surfaces. For crevices, a brush is your best bet; compressed air shines for hard-to-reach areas beneath the keys.
Step 4: Wipe Away the Grime
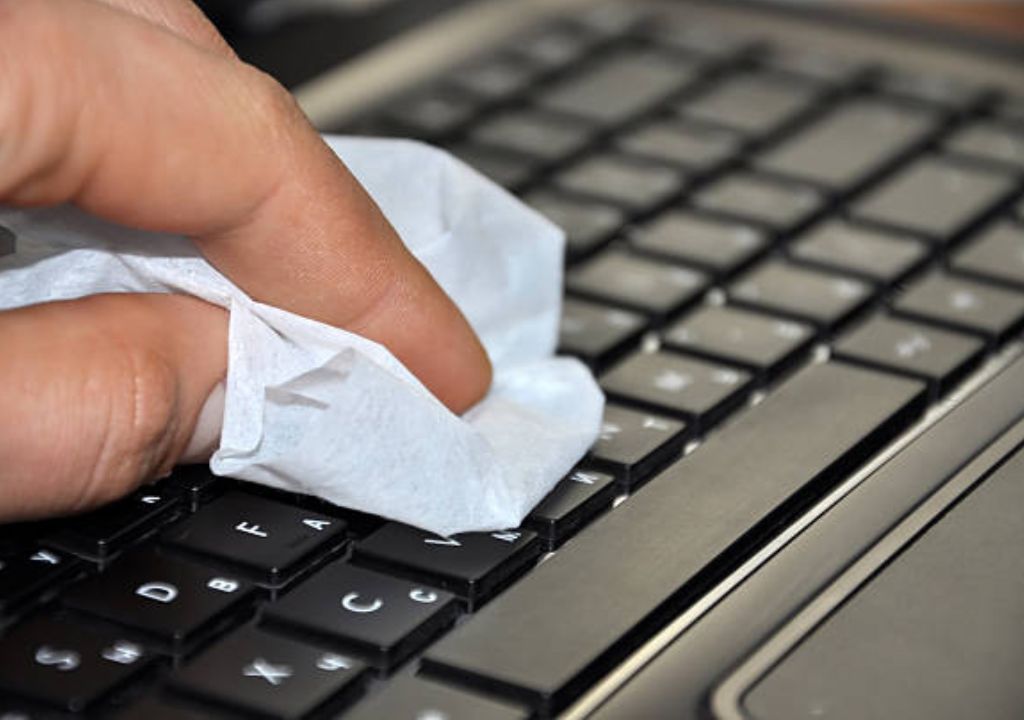
Dampen a microfiber cloth with clean water or a mild dish soap solution. Squeeze it out thoroughly to ensure it’s damp, not dripping. Wipe down the keyboard and touchpad, taking care not to press too hard.
Step 5: Tackle Stubborn Grime
For stubborn dirt or sticky spills, dip a cotton swab in rubbing alcohol (70% isopropyl). Dab gently at the affected area, being careful not to flood the keys with liquid.
Disinfection: Keeping Germs at Bay
It is time to disinfect the laptop keyboard and touchpad and here’s what you should do:
Step 1: Safety First
Unplug and turn off your laptop before disinfecting.
Step 2: Choose Your Weapon
Opt for disinfectant wipes specifically designed for electronics or a microfiber cloth dampened with rubbing alcohol. Avoid harsh chemicals like bleach, which can damage your laptop’s delicate components.
Step 3: Scrub and Wipe
Gently wipe down the entire keyboard and touchpad surface, ensuring you reach all the nooks and crannies.
Step 4: Dry Time
Give your laptop ample time to air dry before plugging it back in. Leaving any moisture near sensitive electronics can lead to damage.
Cleaning and Disinfecting Do’s and Don’ts
There are certain Do’s and Don’ts that you need to follow while deploying the process of cleaning and disinfecting the laptop.
Don’ts
Use bleach, ammonia, or other harsh chemicals. These can damage your laptop’s finish and internal components.
Be rough with your keys. Excessive force can lead to broken keys or dislodged mechanisms.
Submerge your laptop in water. This is an instant recipe for disaster.
Do’s
Be gentle when removing keys (only do this for stubborn debris). Consult your laptop’s manual or manufacturer’s website for specific key removal instructions.
Beyond the Clean: Keeping Your Laptop Pristine
Cleaning the laptop keyboard and touchpad does not end your job, you need to opt for certain additional methods to ensure your laptop keeps running for a long time.
- Shield the Keys: Consider using a protective keyboard cover to prevent spills and dust buildup.
- Touchpad TLC: Regularly clean your touchpad with the same methods as the keyboard. Avoid using abrasive materials that can scratch the surface.
- Mind Your Munchies: Eating and drinking near your laptop is an open invitation for crumbs and spills. Opt for a designated snack zone to keep your laptop grime-free.
Conclusion
A clean and disinfected keyboard and touchpad not only enhance your laptop’s performance but also protect your health. By following these simple steps and adopting mindful cleaning habits, you can keep your trusty companion sparkling and germ-free for years to come. Remember, regular care goes a long way in maintaining a healthy and happy laptop relationship!

 8 Best Rugged Laptops: Built to Withstand Harsh Environment
  How to Fix the Acer Aspire WiFi Problems in Laptop?
  Cursor won’t move on your Computer? What to do Now?
  No Bootable Device in Acer Device? 5 Expert Solutions to Fix
  Acer Wireless Mouse not Working? 5 Methods to Fix
  How to Solve Acer Laptop White Screen Problem?