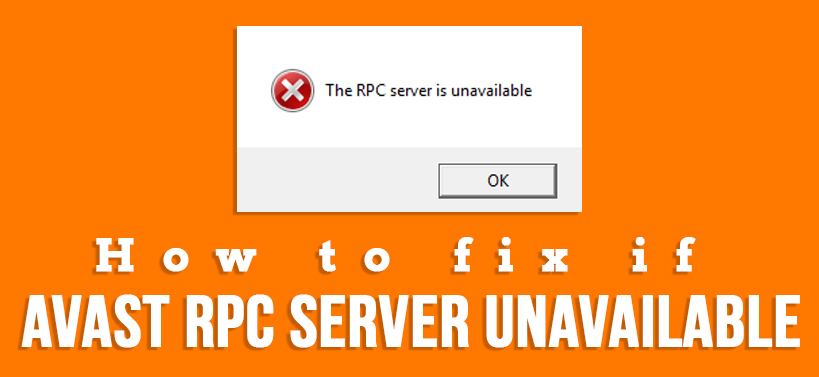
Solve Avast RPC Server is Unavailable Error in Windows 10

If you encounter the “Avast RPC server is unavailable” error, then it means that the computer is unable to communicate with other machines and programs via the network in use. Basically, this issue comes up, when the machine is unable to make contact with the Avast security software.
Reasons for the Avast RPC Server Unavailable Error
Here, you will get many reasons for the occurrence of this problem. Those causes are as follows.
- If the installation of the Avast security software is not correctly done, then you can meet with this issue.
- When the Windows OS is not up to date, next, there is a possibility for you to get this error.
- When the device drivers are not up to date, next, this issue can even appear.
- If the configuration of the network connection is not correctly done, then this problem can come up
- Sometimes due to some problems with the Registry, this issue can come up even.
Solutions To Resolve Avast RPC Server Unavailable Problem
You will get various steps here, that will help you to solve the Avast RPC Server Unavailable error easily.
Inspect the Network Connection
If the network connection is not properly set, then you might get this error. The correct solution to solve this problem is to check the network connection and configure it. Here are the steps on how can you do it.
- First, tap on the combination of ‘Windows + R’ keys together’, to launch a new ‘Run’ dialog box.
- Inside that dialog box, type the text “ncpa.cpl” and then click on the ‘OK button. This action will open the new window having the name ‘Network Connections’ will come up.
- From that page, locate and right-click on the current network in use. Then, from the popup menu, choose the ‘Properties’ option.
- As soon as you do that, then a new ‘Properties’ dialog box will come up. In it, put checkmarks on the following options ‘File and Printer Sharing for Microsoft Networks’ and ‘Internet Protocol Version 6 (TCP/IPv6)’, then click ‘OK’.
Configure Windows Defender Firewall
If the Windows Defender Firewall is not configured correctly, then the computer is unable to communicate with the RPC server and you meet with this issue. Now, the one and only solution to rectify this problem are to configure the Windows Defender Firewall correctly.
In order to do that, follow the steps below.
- First, right-click on the ‘Windows’ logo to launch the ‘Options Menu’. In this menu, find and choose the ‘Search’ option. This will open the default search section of Windows OS.
- Inside that section, input the text ‘control’ and then from the results page locate and choose the ‘Control Panel’ option. As soon as you click on that option, then a new window with the name ‘Control Panel’ will come up.
- Inside that window, choose the ‘Network and Internet’ option. Next, from the new page that comes up, find and choose the ‘Network and Sharing Center’ option.
- Now, another page will come up, in it, go to the left pane and choose the ‘Windows Defender Firewall’ link at the bottom.
- Once again, a new page will show up having the name ‘Windows Defender Firewall’. In this page, navigate to the left side and choose the ‘Allow a program or feature through Windows Firewall’
- In the new page, move down a little to get an application ‘Remote Assistance’. Then see if all the checkboxes of this application are marked or not.
- If not, then click on the ‘Change settings’ button and put the checkmarks on the required places.
- At last, click on the ‘OK’ button and restart the PC.
RPC server registry settings repair Process
If the registry entries for the RPC server is not set correctly, then you can meet with this problem. The feasible solution to get rid of this problem is to repair the registry settings of the RPC server. To do that follow the steps below.
- First, hit both keys ‘Windows + R’ keys together then type “regedit” and click on the ‘OK’ button.
- Now, a new window having the name ‘Registry Editor’ will come up.
- Inside this window, go to the left pane and then follow the path to open the ‘RpcSs’ folder – “Computer\HKEY_LOCAL_MACHINE\SYSTEM\CurrentControlSet\Services\RpcSs”.
- Next, see if there are a total number of thirteen keys present in the “RpcSs” folder.
- If a single key is missing out of the 13 keys, then install the Windows OS once again.
Start the RPC Services
If the RPC services are not functioning properly, then you can meet with this glitch. The easiest way to resolve this problem is to start all the RPC services. For that to happen, follow the steps below.
- First, tap on the combination of ‘Windows + S’ keys simultaneously. This will open the default search section of Windows OS.
- Within that area, type the text “services” and then from the output page choose the first option that says ‘Services’.
- As soon as you click on that option, then a new window will come up with the name ‘Services’.
- Inside that window, locate the ‘DCOM Server Process Launcher’ option and double-click on it.
- Next, set the Startup Type as “Automatic” and then at the bottom click on the ‘Start’ button.
- Repeat the previous step for the two following options – “Remote Procedure Call” and “RPC Endpoint Mapper”
- At last, restart the computer and see if this issue comes up or not.
Uninstall and Reinstall the Avast Security Software
You will get uninstallation then reinstallation process of the ‘Avast’ security software.
- First, press the ‘Windows + I’ keys together, to launch a new window having the title ‘Settings’ will come up.
- In this window, locate and click on the ‘Apps’ category. Next, from the new page with a list of all available applications, find and choose the ‘Avast’ software.
- Then, click on the ‘Uninstall’ button, to open the uninstaller window. After that, follow the instructions that come up on the screen and accordingly click on the ‘Uninstall’ button.
- When the removal process of the ‘Avast’ software is complete, next, go to the official ‘Avast’ website.
- At last, download the correct setup file of Avast software and install the same.
Update Windows Operating System
Here, you will get the steps to update the Windows 10 Operating System.
- First, click on the ‘Windows’ logo to open the ‘Start Menu’. Next, from that menu locate and choose the ‘Gear’ icon.
- As soon as you click on that icon, then a new window with the heading ‘Settings’ will come up. Inside that window, find and choose the ‘Update & security’ option.
- Now, a new page will appear, in it, go to the left pane and choose the ‘Windows Update’ option. Then, move to the right pane and click on the ‘Check for updates’ button.
- This action will allow the Windows OS to look for any update packages. If there is any update package available, then those will be presented on a list and downloaded automatically.
- Once the download process is over, next, click the ‘Restart now’ button to boot the computer for installing all the updates.

 How to Solve GameStop Access Denied Error?
  Solutions of the Error: Origin Friend Request not Working
  Fixed: Dragon Age Inquisition Opens then Closes
  Guide to Enable On-Screen Keyboard on Windows 10 PC
  How to Perform Android File Transfer to Windows 10 PC?
  Install Snapchat for Windows 10 PC [Installation Guide]