Rectify the Error Code 0x80042405 – 0xa001a Easily

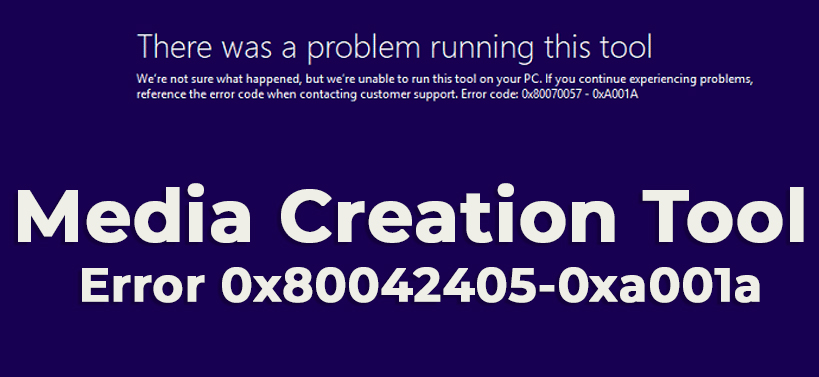
If there is some problem with the Media Creation Tool, then you can get the error code 0x80042405 – 0xa001a. The Media Creation Tool is used to create a bootable USB drive, with which Windows OS can be installed into the computer.
Basically, this error can come up, while executing the Media Creation Tool. There can be various reasons for the occurrence of this problem. Some of the usual causes are that, if the USB drive that you are using has not enough space, then this error can crop up.
When there is a certain type of bug or error within the Media Creation Tool application, next, there is a chance for you to face this glitch. Moreover, if the filesystem of the USB drive is not ‘NTFS’, then you may encounter this issue also.
How to Resolve the Windows Media Creation Tool Error 0x80042405 – 0xa001a?
Here, you will get several solutions within methods that will allow you to fix the Error Code 0x80042405 – 0xa001a.
Download the Media Creation Tool in Hard Drive then put it in USB Drive
If the Media Creation Tool is not properly put into the USB Drive, then there is a possibility for you to encounter this issue. Now, the correct answer to fix this problem is to download the Media Creation Tool into the hard drive and then copy the tool to the USB drive. In order to do that, follow the steps below.
- First, open the web browser then visit the official Microsoft website and look for the ‘Media Creation Tool’ application.
- Next, once you have got hold of that application, then, download the same.
- Once the download process is over, next, run the Media Creation Tool application. Now, use this application to download the ‘.iso’ file, of the Windows OS.
- After that, mount the Windows OS ‘.iso’ file and open it. Then, copy all the folders and files except for the one that says ‘Autorun.ini’ from the ‘.iso’ file into the USB drive.
- Now, right-click on the file ‘Autorun.ini’ hen from the popup menu choose the ‘Rename’ option and alter the name to ‘Autorun.txt’.
- Copy that file into the USB drive and then change the filename back to ‘Autorun.ini’.
- At last, see if this issue comes up when you try to use the bootable USB drive to install Windows.
Conversion of the disk type of bootable USB drive to MBR
MBR or Master Boot Record is the information stored in the first sector of the hard drive, that identifies the location of the Operating System. So that the OS can be loaded into the ‘Random Access Memory’. The Media Creation Tool needs to set the bootable USB drive to MBR instead of the GUID Partition Table. In order to set the disk type of USB drive to MBR use the Disk Management. Here are the steps as follows.
- First, press the combination of ‘Windows + R’ keys simultaneously, to open the new ‘Run’ dialog box. Inside that dialog box type the name “diskpart” and then click on the ‘OK’ button.
- As soon as you do that, then a ‘Command Prompt’ will appear with the Diskpart tool running inside it.
- Next, inside that window, type the following command – ”list disk” and then press the ‘Enter’ button. This command will show all the disks connected to the system.
- After that, input the next command that says ‘select disk x’ and hit the ‘Enter’ key. In this command ‘x’ is the disk number, that you want to make as a bootable device.
- To format the chosen USB drive type the command – “clean” and hit ‘Enter’. Wait for the formatting process of the USB drive to get over.
- Now, to convert the disk type of the chosen USB drive, write the following command “convert mbr” and then tap on the ‘Enter’ key.
- Finally, attempt to execute the Media Creation Tool and check if this problem reappears or not.
Format the USB Drive as NTFS
If the USB drive that you have chosen to make as a bootable disk is not set to the NTFS file system, then you can encounter the Error Code 0x80042405 – 0xa001a. Now, the most feasible answer to rectify this problem is to format the chosen USB drive to the NTFS file system. Here are the steps on how can you do it.
- First, tap on both the keys “Windows + E” together. This action will open a new ‘Windows Explorer’ window.
- Inside that window, go to the left pane and then choose the ‘This PC’ option. Now, navigate to the right panel then choose the correct USB drive and right-click on it.
- Next, from the popup menu that comes up, choose the ‘Format’ option. This action will launch a new dialog box.
- Inside that dialog box, go to the ‘File system’ field and then choose the ‘NTFS’ option from the drop-down menu. After that, navigate to the ‘Format options’ section and then put a checkmark on the ‘Quick Format’ option.
- At last, click on the ‘Start’ button’ then wait for the formatting process to get complete and check if this problem comes back or not.
Deactivate the USB Selective Suspend Setting
If a setting USB Selective Suspend is active, then for that reason, you may face this problem. The correct solution to rectify this issue is to disable the USB Selective Suspend setting. For that to happen, follow these steps below.
- First, tap on the ‘Cortana’ logo to launch a new search area. Inside that area, type the following text “control panel”. Then, from the results page locate and choose the ‘Control Panel’ option.
- Inside that window, find and select the ‘System and Security’ category. This action will open a new page, in it, scroll down a little and then choose the ‘Power Options’.
- Now, another new page will appear, in it, go to the left panel and choose the ‘Change when the computer sleeps’ link. As soon as you click on that link, then a new page with the title ‘Edit Plan Settings’ will come up.
- Inside that page, go to the bottom and then click on the ‘Change advanced power settings’ link.
- At this time, a new dialog box having the title ‘Power Options’ will come up. Inside it, find the ‘USB settings’ option and double-click on it to expand.
- After that, from the expanded list select the ‘USB selective suspend setting’ sub-option and double-click on it. Next, for the ‘Settings:’ field choose the ‘Disabled option.
- At last, click on the ‘Apply’ and ‘OK’ buttons respectively.
Utilize the Windows 7 USB/DVD Download Tool
If you encounter the Error Code 0x80042405 – 0xa001a while using the Media Creation Tool for Windows 10, then as an alternative use the Windows 7 USB/DVD download tool. Follow these steps to do it.
- First, go to the official website of Microsoft and then download the Windows 10 ISO file.
- Next, from that website only download the Windows 7 USB/DVD download tool and install it on the machine.
- Once the installation process of the application is complete, next, run it as an administrator. After that, provide the path where the Windows 10 ISO file is present and then click on the ‘Next’ button.
- As soon as you have done that, then choose the target USB drive and follow the information that comes up on the window to make a bootable USB device for Windows OS installation.
- Lastly, check if this issue comes up or not when you attempt to install the OS via the Windows 7 USB/DVD download tool.

 How to Solve GameStop Access Denied Error?
  Solutions of the Error: Origin Friend Request not Working
  Fixed: Dragon Age Inquisition Opens then Closes
  Guide to Enable On-Screen Keyboard on Windows 10 PC
  How to Perform Android File Transfer to Windows 10 PC?
  Install Snapchat for Windows 10 PC [Installation Guide]