How to Allow Chrome to Access the Network in your Firewall or Antivirus Settings Easily

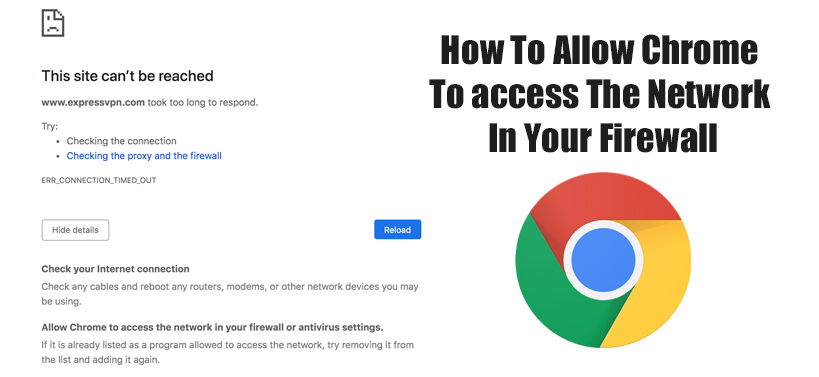
When an error like “ERR_CONNECTION_TIMED_OUT” and etc occurs in the Google Chrome web browser, then you get the “Allow Chrome to access the network in your firewall or antivirus settings” message as a suggestion. Thus, this message is not a primary or main glitch.
Even for the error codes “DNS_PROBE_FINISHED_NO_INTERNET” and “ERR_NAME_NOT_RESOLVED” you can get this suggestion also.
Functionalities of Firewall and Antivirus
Firewalls and antivirus both monitor all the activities online including the amounts of packets sent or received. These applications do this to make sure that no threats or malicious programs can get into your computer.
How to Allow Chrome to Access Network in Firewall or Antivirus Settings?
Here, you will get multiple methods that will help you to easily get rid of this issue.
Addition of an Exception to the Windows Firewall
You will get the process of how to add an exception to the Windows Firewall, here. In order to get that knowledge, follow the steps below.
- First, press the combination of ‘Windows + S’ keys together. This action will open a new default search section.
- Inside that section, type the following text “firewall” and then from the results section choose the ‘Firewall & network protection’ option.
- As soon as you click on that option, then a new window with the title ‘Windows Security’ will open up. Inside that window, scroll down a little, then locate and choose the ‘Allow an app through firewall’ link.
- Now, a new window will come up with a list of all the applications installed within the computer. Next, tap on the ‘Change settings’ button on that window.
- After that, from the list locate the Google Chrome option and put a checkmark on it.
- At last, click on the ‘OK’ button and then check if this issue appears or not, when you attempt to access a website.
Exception Addition for a Reliable Antivirus Software
Get steps here to add an extension for reliable antivirus software.
- First, open the reliable antivirus software by double-clicking the icon on the desktop.
- When the application opens up, next, click on the ‘Menu’ button. This action will open up a drop-down list with many options.
- Now, out of all those options, locate and then choose the ‘Settings’. As soon as you click on that option, then a new page with the heading ‘Settings’ will come up.
- On that page, find the ‘General’ section. Under that section click on the ‘General’ tab.
- Inside that tab, locate and select the ‘Add Exception’ button. This will open up a new dialog box with the title ‘Add exception’.
- Within that dialog box, type the complete web address of the website that you are unable to access using Google Chrome and then click on the ‘ADD EXCEPTION’ button to add the URL.
The process to Add an Exception to Windows Defender
Here, you will get steps to add an exception to the Windows Defender application.
- First, tap the “Magnifying glass” on the taskbar, to open the search area of the Windows OS.
- In this area, type ‘windows defender’ and then from the search output list, locate and choose the ‘Windows Defender Security Center’ option.
- Once a new window with the title ‘Windows Defender Security Center’ opens up, next, go to the left pane and choose the ‘Shield’ icon, right after the ‘Home’ icon.
- As soon as you click on that icon, then a new page with the heading ‘Virus & threat protection’ will come up. Inside that page, scroll down a little and then choose the ‘Virus & threat protection settings’ link.
- At this time, you can encounter a ‘User Account Control’ dialog box will come up, in it, choose the ‘Yes’ button.
- When you enter the requisite menu, next, look for the ‘Exclusions’ section. Next, under that section locate and click on the ‘Add or remove exclusions’’ option.
- In the new page that appears, choose the ‘Add an exclusion’ button. Once the new page with the name ‘Add An Exclusion’ name comes up, next, navigate to the ‘Folders’ section.
- In that section, click on the ‘Exclude a folder’ option and then go to the default location of the ‘Google Chrome’ folder and make it an exception.
- At last, apply the changes and then see if this issue appears or not when you try to access a website.

 How to Solve GameStop Access Denied Error?
  Solutions of the Error: Origin Friend Request not Working
  Fixed: Dragon Age Inquisition Opens then Closes
  Guide to Enable On-Screen Keyboard on Windows 10 PC
  How to Perform Android File Transfer to Windows 10 PC?
  Install Snapchat for Windows 10 PC [Installation Guide]