Windows Modules Installer Worker: Windows 10 High CPU [Fixed]
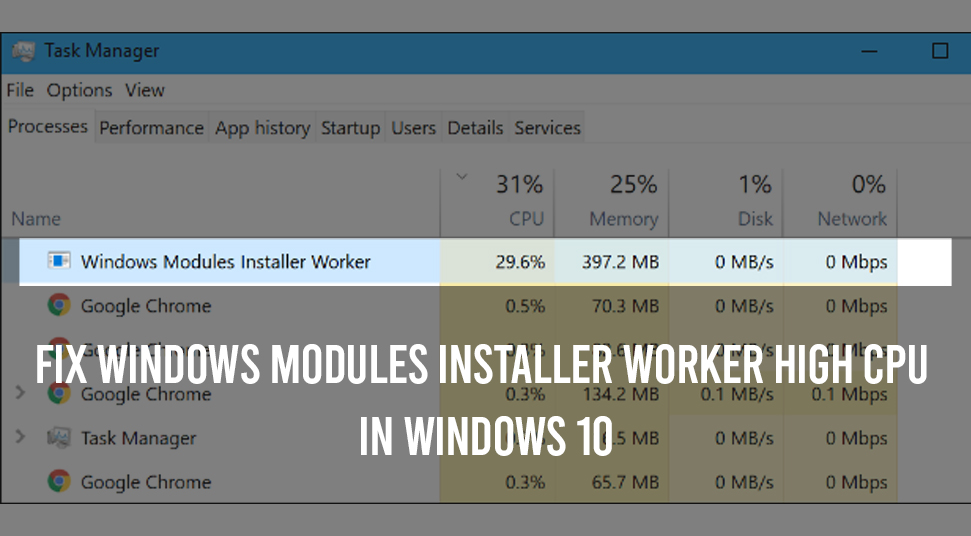
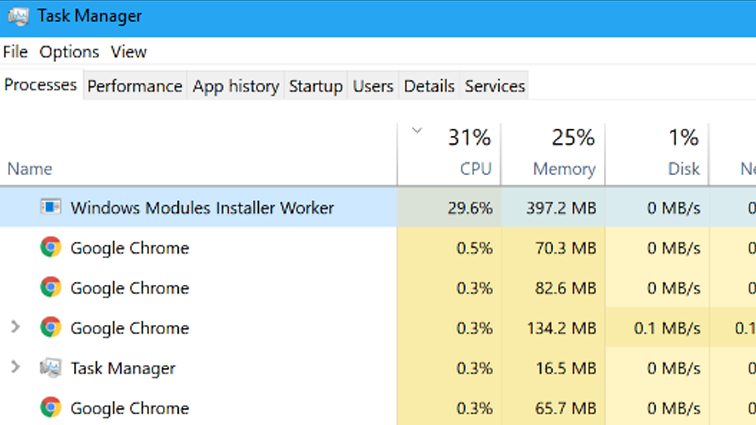
You may be familiar with the windows modules installer worker, especially if you’re a Windows 10 user. windows modules installer worker is a function that usually takes a lot of fo space in the CPU. Mostly, a large percent of CPU is used by it. This a problem because space is being taken in a great amount.
This issue has been reported by many Windows 10 users recently. However, you can apply some tips that could possibly help you getting more space. Additionally, you’d be able to make the windows modules installer worker windows 10 take less space.
Introduction to Windows Modules Installer Worker
The prime reason the CPU fan spins and gets much hotter is that the CPU is being used all the time. The installer worker works in the background almost every time we open “Task Manager”.
This particular function works on enabling installations, makes required modifications and removed any windows update. Basically, it helps in installing updates every time in the background.
It might show the name windows modules installer worker, in the Task Manager but its file name in “TiWorker.exe” which can be viewed in the “Details” tab.
Why does it use a Large Percent of the CPU?
To be precise, this process that takes up such a huge amount of CPU is relatively normal on Windows 10. The function fact about this process is that if you continue to let it run on the PC, it will do its work and stop its process.
As a result, the use of CPU stops. The problem is, that the time period of usage depends completely on the CPU speed. It also depends on the required updates for the PC.
Ways to Resolve Windows Modules Installer Worker Using High CPU
If you come to notice that the process is taking too much of your CPU, then you can apply these two methods that would help the situation. In addition to this, stop the auto-update in the PC:
1. Use Stop/Disable to Eject Windows Update Service
Keep in mind that only when the service of Windows Update is running, then only can Window go through the installation of updates. Hence, if you manually stop updating service, the Windows won’t be able to check or automatically install any more updates.
As a result, the CPU will be free of all the space that it was taking. And here’s how to do it:
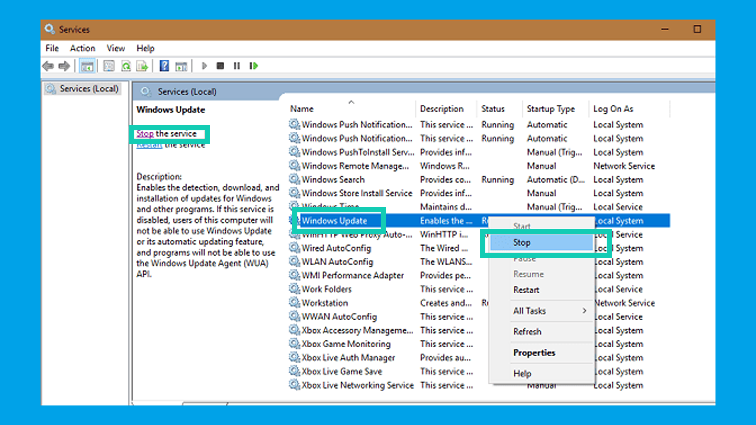
Locate the Windows logo key on the keyboard, press it along with the “R” button to launch the “Run” box. In the blank field of “Run’ box, write “Services.msc” and hit the “Enter” button.
Now, the Windows Service box will appear on the screen. Thereafter, Double-click on the option called “Windows Update”. Now, under the “Startup Type” tab, switch to the option called “Disabled”.
Now, click on the “Stop” button and then click on “Apply”.
Now you’ll see that the CPU usage is back to normal and less space is taken unlike before. However, if you still witness no changes, then see the next method.
2. Make Changes in Internet Settings
Another way you can decrease the usage of CPU and stop the auto-update by changing internet settings. You can use two different ways to do that provided if you are using the two following connections:
- Wireless Network Connection
- Ethernet Network Connection
3. If You Use Wireless Network Connection
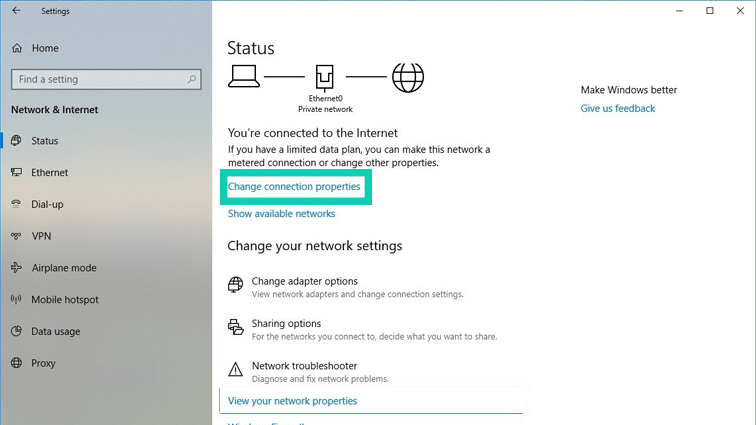
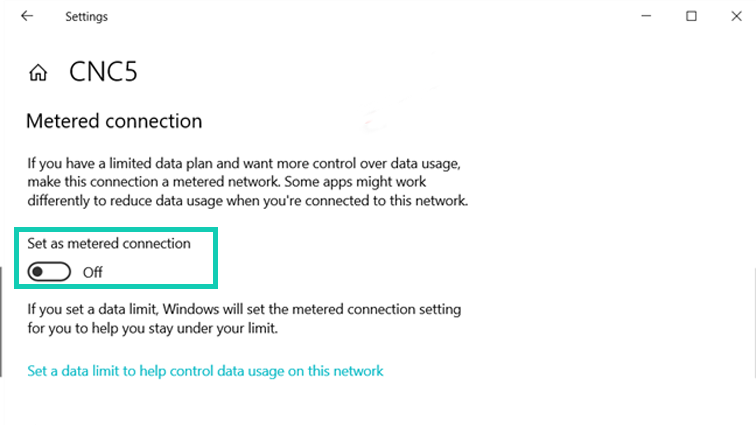
First, go to the “Start” button and then visit the “Settings” option. Click on the “Network & Internet” option from there and then proceed to click on the option called “Advanced Options”.
Now, tick the option called “Set As Metered Connection” under “Metered Connection”. Now the connection has been set to metered. Check if you face the problem again after that.
4. If You Use Ethernet Network Connection
Locate the “Windows” logo key on the keyboard and press the “R” button along with it.
In the “Run” box, write, “Regedit” and then click on the “O” option.
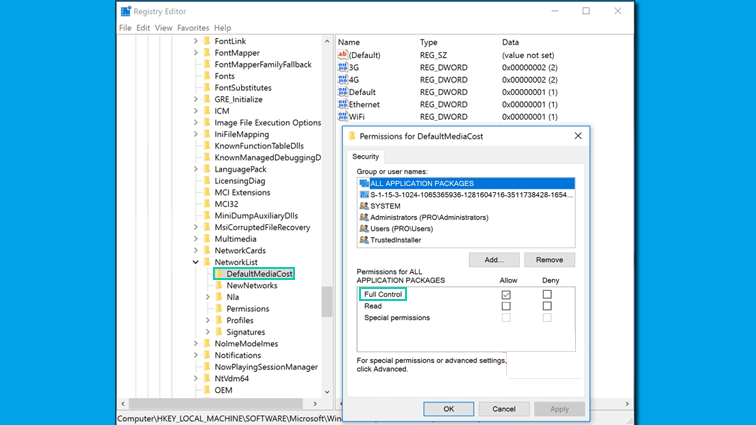
When you get a prompt “User Account Control” (UAC), then click on the “Yes” option. The Registry Editing Window will open up. Now, locate the file named “HKEY_LOCAL_MACHINE” then go to “Software and select “Microsoft”.
Choose “WindowsNT’ and then click on the option called “Network List”. Then choose the “DefaultMediaCost” and right-click on it. Now select the “Permission” option.
Click on the “Add” option and then insert your username. Select the “Check Names” option and hit the “OK” option after that.
Now, select the recently added user and then check the option box called “Allow” or “Full”. Hit the “OK” option after that.
Set the value data of the “Ethernet” connection to 2 by double-clicking on the network. Then exit the Registry by hitting the “OK” option.
After you’re done with the processes, restart the system after that and check the CPU usage.

 How to Solve GameStop Access Denied Error?
  Solutions of the Error: Origin Friend Request not Working
  Fixed: Dragon Age Inquisition Opens then Closes
  Guide to Enable On-Screen Keyboard on Windows 10 PC
  How to Perform Android File Transfer to Windows 10 PC?
  Install Snapchat for Windows 10 PC [Installation Guide]